January 23, 2025
Design Your Own Macropad With AI Auto-Layout
Share
BuildWithFlux


Hitting the same keys and toggling commands all day is incredibly tedious. A macropad can free up mental bandwidth and speed up your workflow—whether you’re designing PCBs, writing firmware, editing videos, or any other repetitive task. In this post, we’ll guide you through an existing macropad design in Flux so you can:
By the end, you’ll have a production-ready custom macropad you can actually order—and, if you’re up for it, share your unique spin with the Flux community.

This example takes inspiration from the popular “Figma Creator Micro,” which was designed to speed up design software workflows. We wanted a similarly compact macropad with plenty of customization.
Key Components and Features:
1. Raspberry Pi Pico 2 (RP2350A)
2. External Flash Memory (W25Q32RVXHJQ)
3. Two Rotary Encoders (PEC12R-2220F-S0024)
4. Slide Potentiometer (PTA2043-2010CIB103)
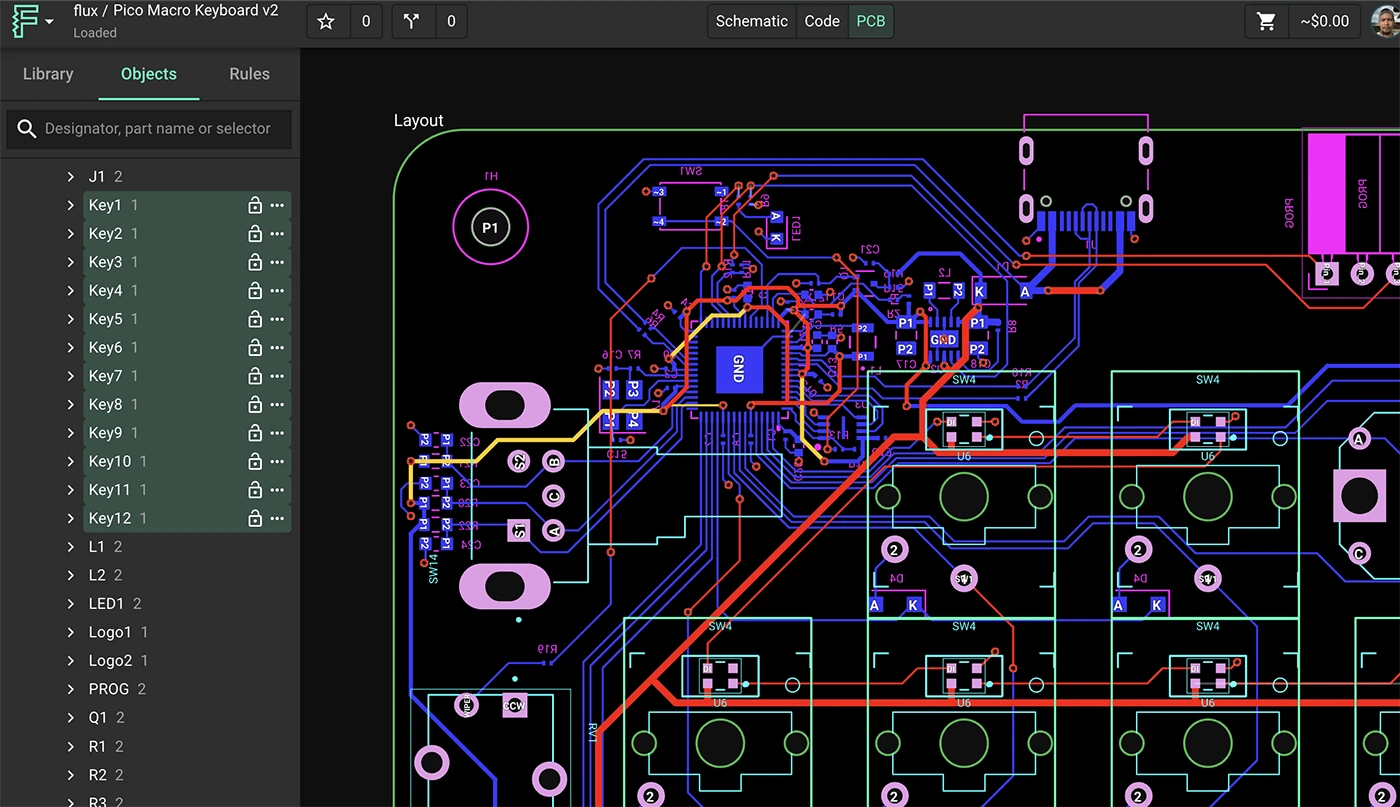
We used Flux’s automatic ground fill to ensure easy, noise-free connections across the board. Smart vias also help optimize routing, especially in compact designs. That keeps your layout clean and production-friendly.
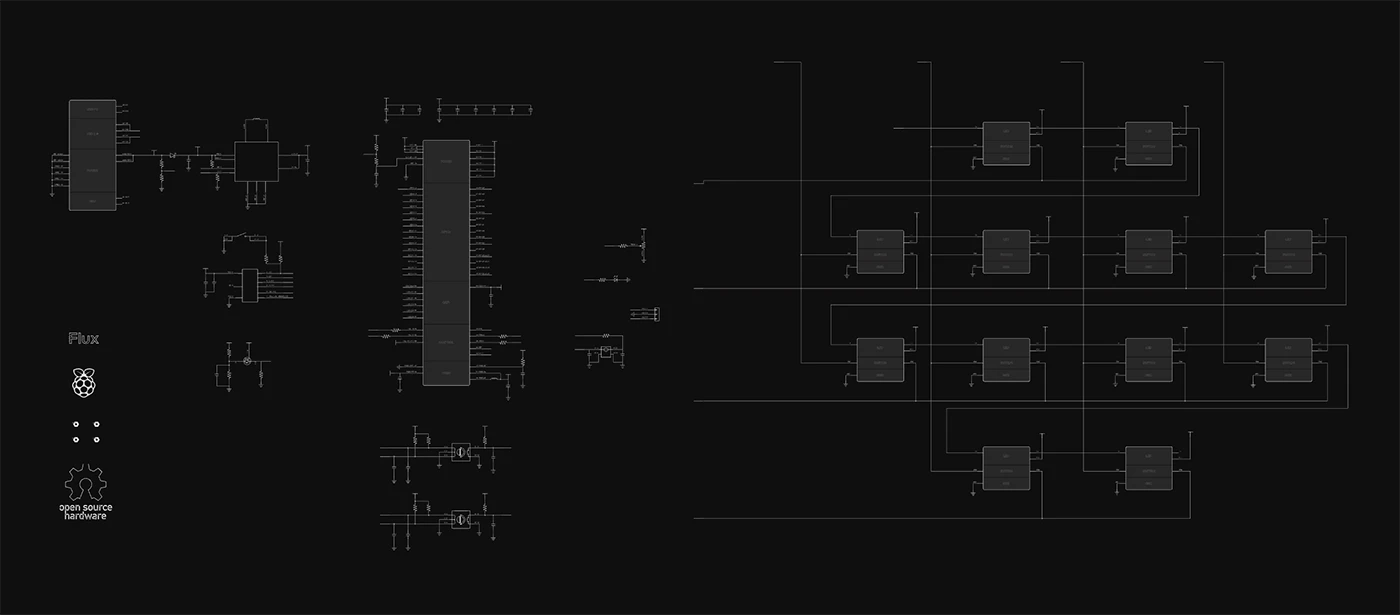
See the Schematic and PCB: Open/Clone the Example Project in Flux to explore the design step by step. If you want a no-fuss option, you can literally just fork and order it as-is.
Before you start tinkering, it helps to see how everything fits together. If you’re not sure why certain parts are included or how they’re wired, you can simply ask Flux Copilot, our AI assistant, right in the project.
Example Copilot Prompts:
@copilot can you explain how the Mechanical Key Module is wired to the Raspberry Pi Pico?
@copilot what’s the function of the external flash memory in this design?
@copilot can you outline how the two rotary encoders are connected?
@copilot which GPIO pins are currently free for additional keys or sensors?
You can also request a high-level overview of the entire project:
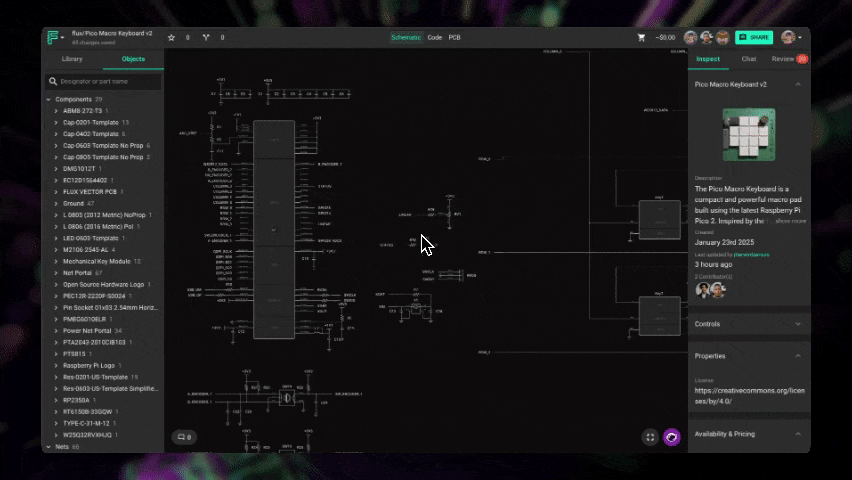
Copilot will respond with details about components, pin assignments, and even why certain parts were chosen, helping you understand the design before you dive into any major customizations.
A quick way of personalizing this design would be to add some more keys. Each Mechanical Key Module is pre-built with the switch, diode, and LED. If you want more (or fewer) keys:
1. Copy the Module in the schematic.
2. Ask Copilot for an unused GPIO on the RP2350. Type:
@copilot Find a free GPIO Pin on the RP2350 where I can connect a new key
3. Let Flux Copilot handle the actual schematic wiring if you’d like. Type:
@copilot connect Key13 GPIO X
For the rotary encoders and slide potentiometer, you’ll see them already placed in the schematic. Feel free to move them around, switch to different pins, or remove them if you don’t need them.
Switch to the PCB editor to see the current footprint placements.
Repeat or tweak until the board shape, connector positions, and overall look match your preferences.
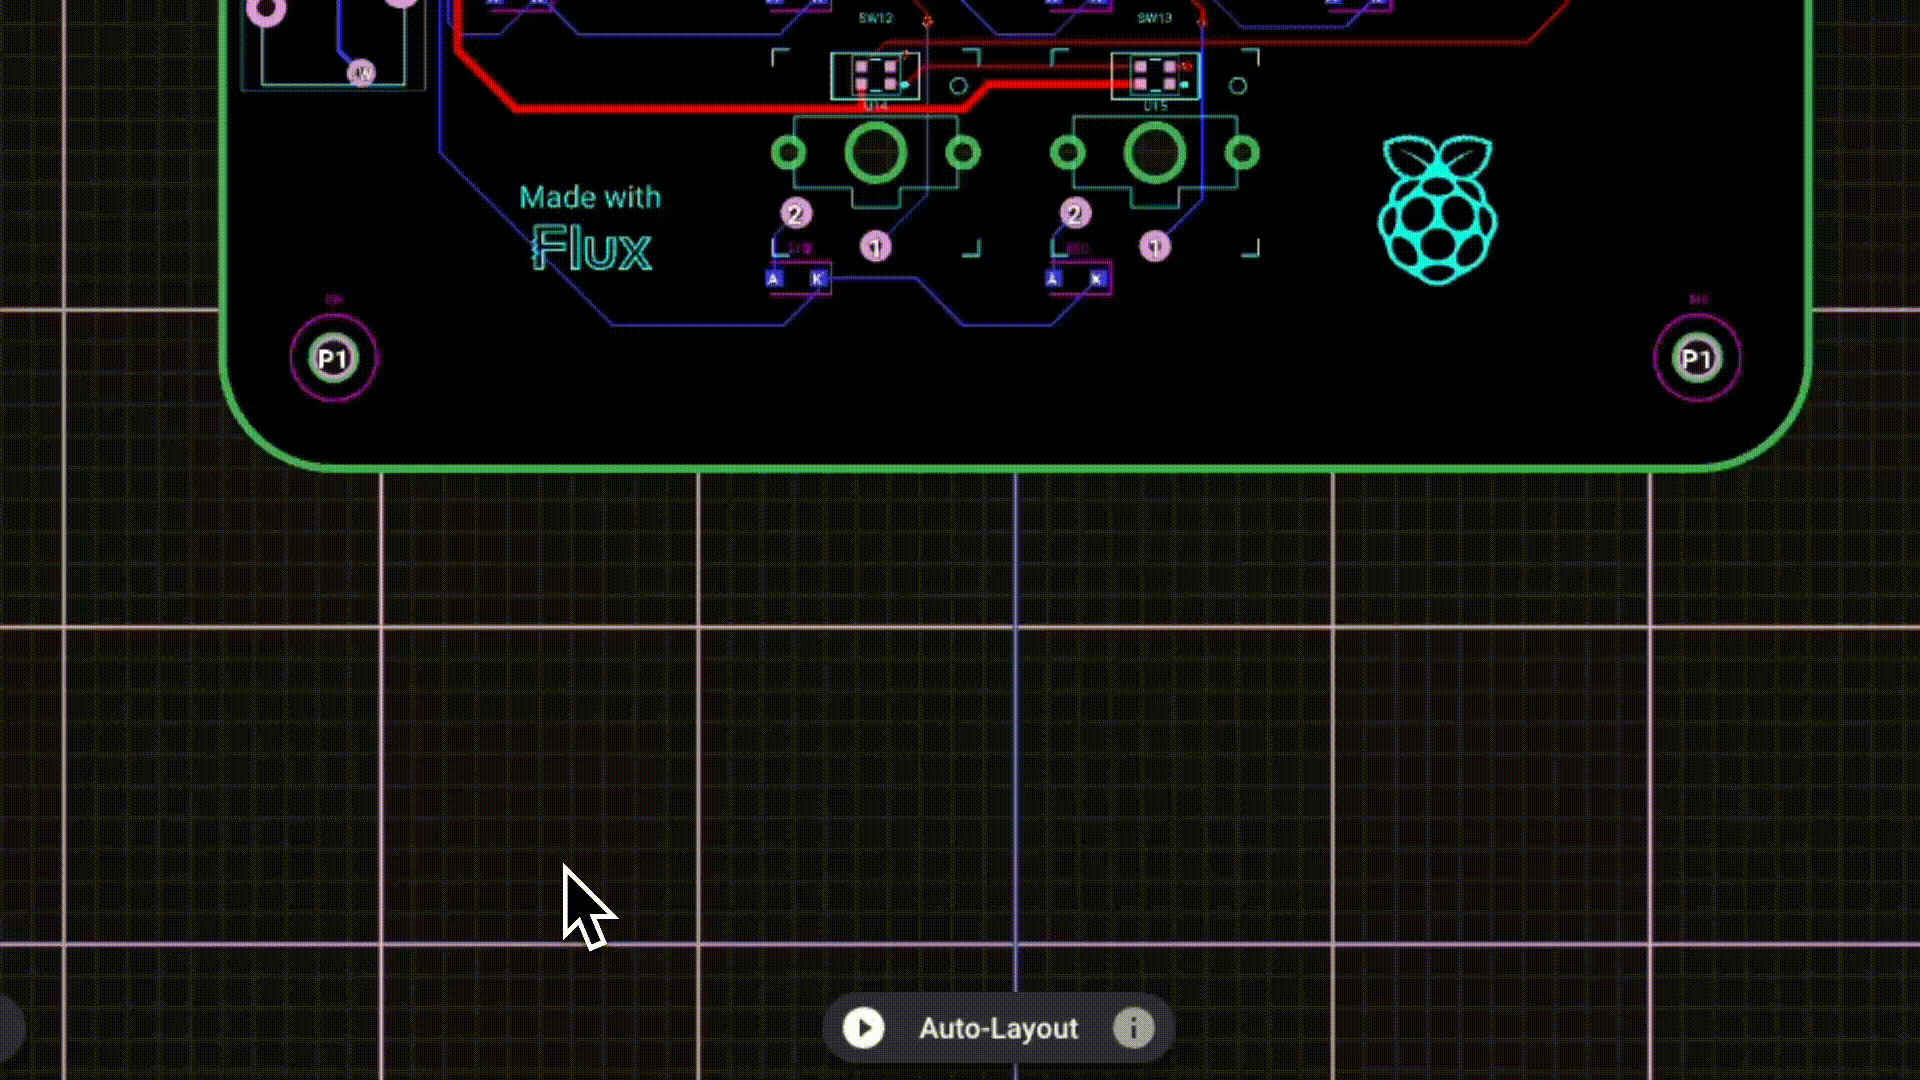
That’s it! You’ll have your custom macropad PCB in hand in a couple of weeks—ready to solder and test.
We’ve included a MicroPython firmware example that handles debouncing, RGB lighting, rotary encoder tracking, and custom macros. You can tweak it however you like: add more key commands, change LED effects, or even integrate USB HID keyboard functionality.
Below is the full example code:
How to Flash:
A macropad is a fun, hands-on introduction to designing professional-grade PCBs with Flux—while still being small and easy to iterate on. Using modules, AI Auto-Layout, and built-in Copilot means you can move fast, experiment freely, and end up with a fully functional device you’ll actually use every day.
Ready to fork this design and customize the hardware, firmware, or both?
Share your unique designs in our Flux Slack Community for a chance to be featured in an upcoming showcase!
We can’t wait to see your take on this build—happy designing!
This example takes inspiration from the popular “Figma Creator Micro,” which was designed to speed up design software workflows. We wanted a similarly compact macropad with plenty of customization.
Key Components and Features:
1. Raspberry Pi Pico 2 (RP2350A)
2. External Flash Memory (W25Q32RVXHJQ)
3. Two Rotary Encoders (PEC12R-2220F-S0024)
4. Slide Potentiometer (PTA2043-2010CIB103)
We used Flux’s automatic ground fill to ensure easy, noise-free connections across the board. Smart vias also help optimize routing, especially in compact designs. That keeps your layout clean and production-friendly.
See the Schematic and PCB: Open/Clone the Example Project in Flux to explore the design step by step. If you want a no-fuss option, you can literally just fork and order it as-is.
Before you start tinkering, it helps to see how everything fits together. If you’re not sure why certain parts are included or how they’re wired, you can simply ask Flux Copilot, our AI assistant, right in the project.
Example Copilot Prompts:
@copilot can you explain how the Mechanical Key Module is wired to the Raspberry Pi Pico?
@copilot what’s the function of the external flash memory in this design?
@copilot can you outline how the two rotary encoders are connected?
@copilot which GPIO pins are currently free for additional keys or sensors?
You can also request a high-level overview of the entire project:
Copilot will respond with details about components, pin assignments, and even why certain parts were chosen, helping you understand the design before you dive into any major customizations.
A quick way of personalizing this design would be to add some more keys. Each Mechanical Key Module is pre-built with the switch, diode, and LED. If you want more (or fewer) keys:
1. Copy the Module in the schematic.
2. Ask Copilot for an unused GPIO on the RP2350. Type:
@copilot Find a free GPIO Pin on the RP2350 where I can connect a new key
3. Let Flux Copilot handle the actual schematic wiring if you’d like. Type:
@copilot connect Key13 GPIO X
For the rotary encoders and slide potentiometer, you’ll see them already placed in the schematic. Feel free to move them around, switch to different pins, or remove them if you don’t need them.
Switch to the PCB editor to see the current footprint placements.
Repeat or tweak until the board shape, connector positions, and overall look match your preferences.
That’s it! You’ll have your custom macropad PCB in hand in a couple of weeks—ready to solder and test.
We’ve included a MicroPython firmware example that handles debouncing, RGB lighting, rotary encoder tracking, and custom macros. You can tweak it however you like: add more key commands, change LED effects, or even integrate USB HID keyboard functionality.
Below is the full example code:
How to Flash:
A macropad is a fun, hands-on introduction to designing professional-grade PCBs with Flux—while still being small and easy to iterate on. Using modules, AI Auto-Layout, and built-in Copilot means you can move fast, experiment freely, and end up with a fully functional device you’ll actually use every day.
Ready to fork this design and customize the hardware, firmware, or both?
Share your unique designs in our Flux Slack Community for a chance to be featured in an upcoming showcase!
We can’t wait to see your take on this build—happy designing!


The blog is an educational resource on netlists, detailing their role as intermediaries between circuit schematics and physical layouts. Special attention is given to different types of netlists, such as FPGA and RTL. It outlines the crucial role of accurate netlists in hardware functionality and discusses the various formats used in the design process.

Now, Flux Copilot can learn how you work—your design principles, part selection preferences, schematic style guidelines, and testing workflows—and remember them automatically.

If you're a lover of smart home devices, you're likely buzzing with excitement over Arduino's recent collaboration with Silicon Labs. We are too, and we’re even more excited to bring the power of this collaboration to life on Flux. As of today, we’re excited to announce that engineers can fully design Arduino-based Matter boards with Flux.

In this blog post, we explore how Flux.ai effectively uses Web Workers and ImmerJS to enhance data replication in our web-based EDA tool. We discuss our challenges with data transfer, our exploration of SharedArrayBuffer, and our ultimate solution using ImmerJS patches.

In this article, we will provide a comprehensive guide to the Raspberry Pi pinout diagram, including a description of each pin and its functions.
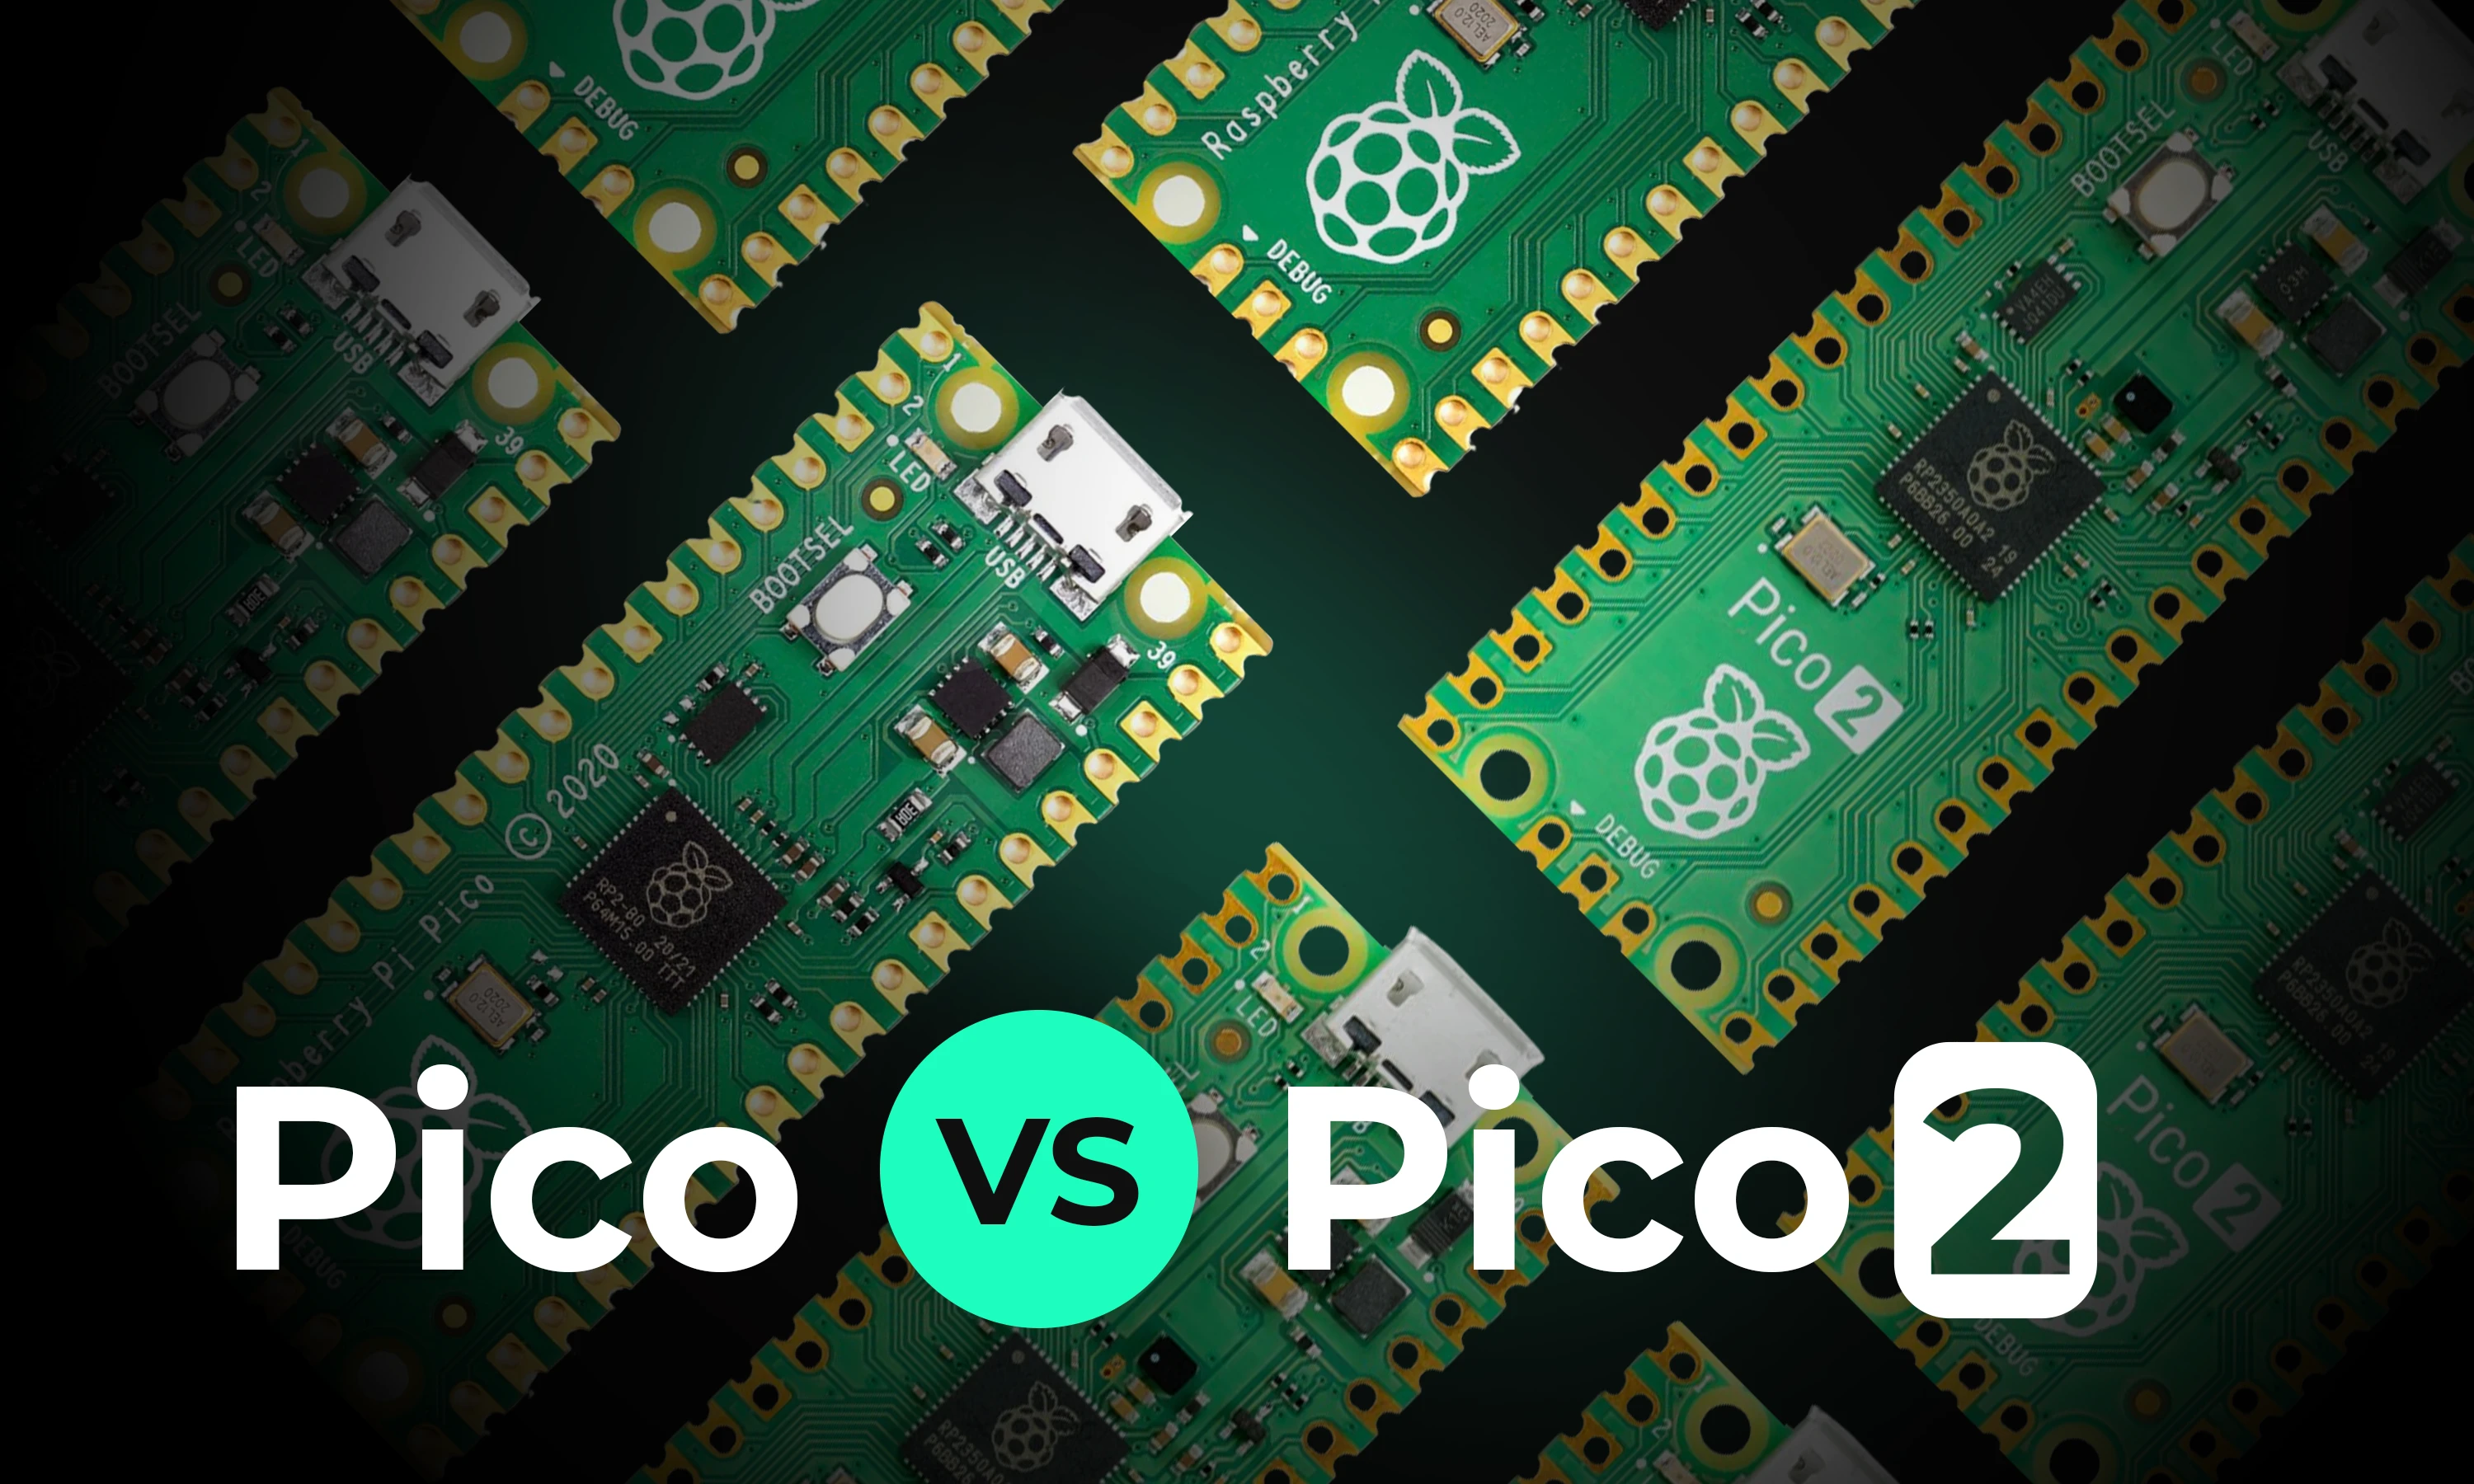
This article will explore the key differences between the original Raspberry Pi Pico and the new Raspberry Pi Pico 2, focusing on the most significant enhancements and what remains unchanged.

The blog offers an in-depth look at Zener diodes, highlighting their crucial role in voltage regulation and stability in electronic circuits. It covers their basic principles, applications, and the challenges faced in their usage.

This article provides a comprehensive guide on pull-up and pull-down resistors, emphasizing their importance in establishing a known voltage level on microcontroller pins. It explains how to implement these resistors in Arduino circuits, discussing functions like pinMode and digitalRead. It also dives into real-world applications, voltage dividers, and tips for avoiding common mistakes.

Electronics, whether in a phone or an industrial motor, face potential threats from unchecked electrical currents. Our guide introduces protection circuits, the essential safeguards that monitor and respond to such electrical anomalies.

From programming to hardware connections, this ATtiny85 comprehensive guide provides everything you need to know to get started. Read on and start exploring the endless possibilities of this tiny yet mighty microcontroller.

One of the key components of PCBs are vias, which are tiny pathways that allow electrical signals to travel from one layer of the board to another. Vias are a staple of PCB design.

Discover how CAD Librarians can leverage Flux’s key capabilities—AI Part Imports, Component Updates, Live Pricing, and JEP30 Export—each tailored to meet the specific demands of maintaining PCB libraries.