


Flux's mission is to make hardware design accessible and efficient for everyone. Our powerful AI Copilot acts as your personal design assistant, streamlining the process and allowing you to create sophisticated hardware in a fraction of the time. In this blog, we'll show you how to leverage Flux to design your own AI pin in just a few hours.
Designing an AI pin would normally take months, but in this project, we did it in hours. In our step-by-step guide, you'll see how Flux can accelerate your design process and bring your AI pin project to life.
Without Flux, a project would need to start from scratch. With Flux, you can kickstart your project by selecting a ready-made template from Flux’s extensive library. These templates provide a solid foundation, allowing you to focus on customizing and refining your design rather than starting from scratch.
Next, use Copilot to generate and refine block diagrams. Instead of brainstorming with a team, which you might not have access to, you can use Copilot's conversational interface to ask questions, request changes, and iteratively improve your design until it perfectly suits your project needs.
No more sifting through Mouser or Digi-Key, researching hundreds of components, reading through datasheets one by one. With Copilot's help, find and integrate the best components for your design. Copilot assists in researching part numbers (MPNs) and suggesting optimal components, ensuring your AI pin is built with the best available parts.
Once parts are selected, it’s time to wire up your schematic. Normally this would require comparing datasheets one by one to figure out interconnections. With Flux, Copilot does all of the heavy lifting for you. Automate netlist generation and component configuration with Copilot’s assistance by having it tell you which pins connect where and even watching it wire up components for you. This step simplifies the intricate process of connecting different parts of your design, allowing you to focus on innovation rather than manual configuration.
Working alone but need another set of eyes to review your project? With AI guidance, you can perform thorough design reviews and finalize your layout. Copilot helps you compare your design to datasheets and common practices, ensuring accuracy and reliability. It also extracts the necessary equations to check your calculations, giving you confidence in your design.
Ready to get started? Watch our tutorial video for a detailed, step-by-step walkthrough of the design process. Then, open the example project and follow along to create your own AI pin. You'll see firsthand how Flux and Copilot make hardware design faster, easier, and more fun.
Experience the future of hardware design today. Sign up for Flux, open the project, and start designing your own AI pin. Discover how AI can transform your design process, unlock the power of Copilot, and achieve rapid results.
Join the revolution of AI pins — sign up for Flux and start creating now!


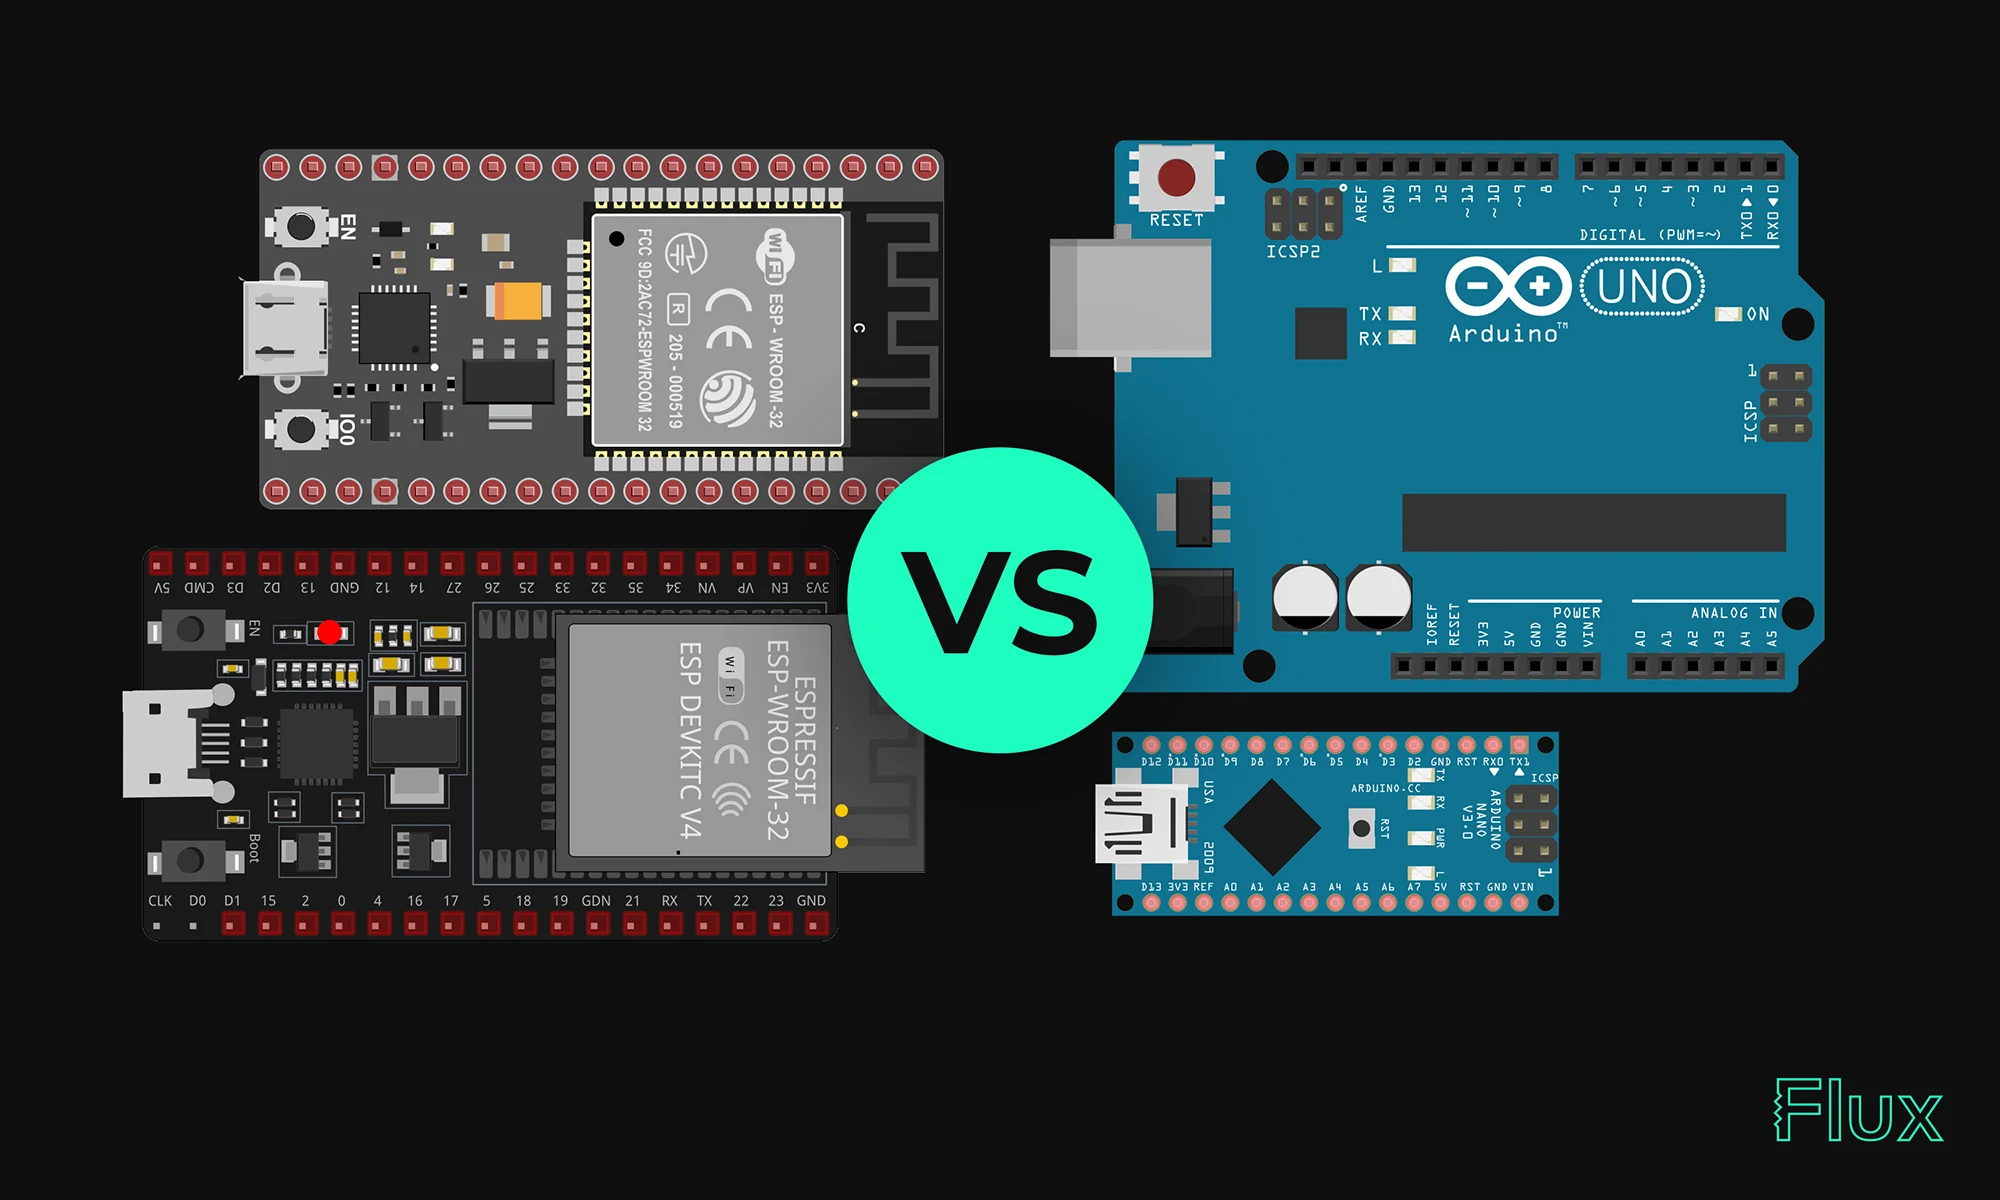
Our 2023 guide compares ESP32 and Arduino, two essential microcontrollers in IoT. ESP32 offers advanced features like Wi-Fi, while Arduino excels in ease of use and community support. Choose based on your project's complexity and needs.
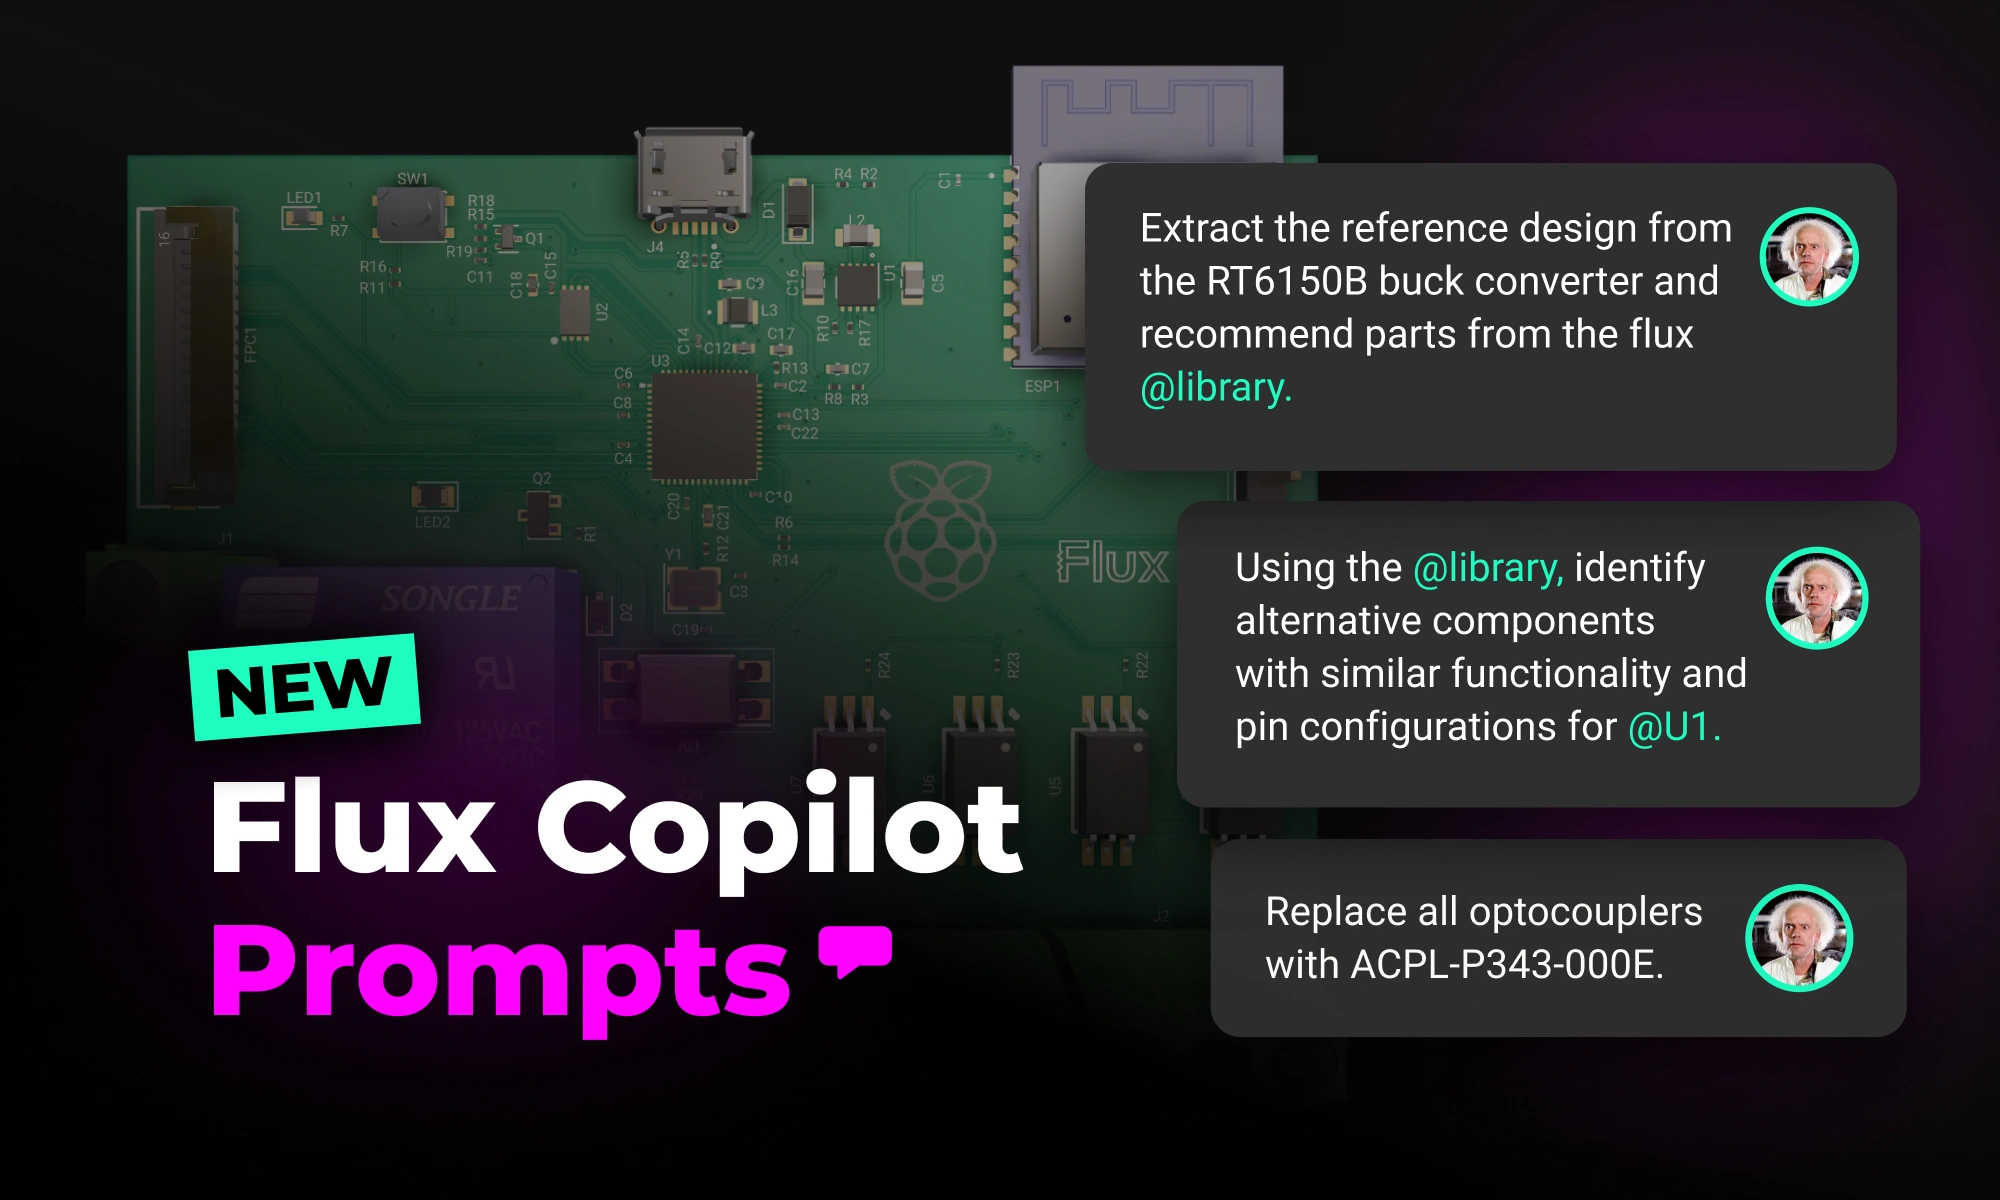
With the latest release of Copilot it isn’t just smarter—it’s hands-on, placing components and applying bulk changes to your project instantly. But to get the most out of it, knowing how to craft the right prompt is key.
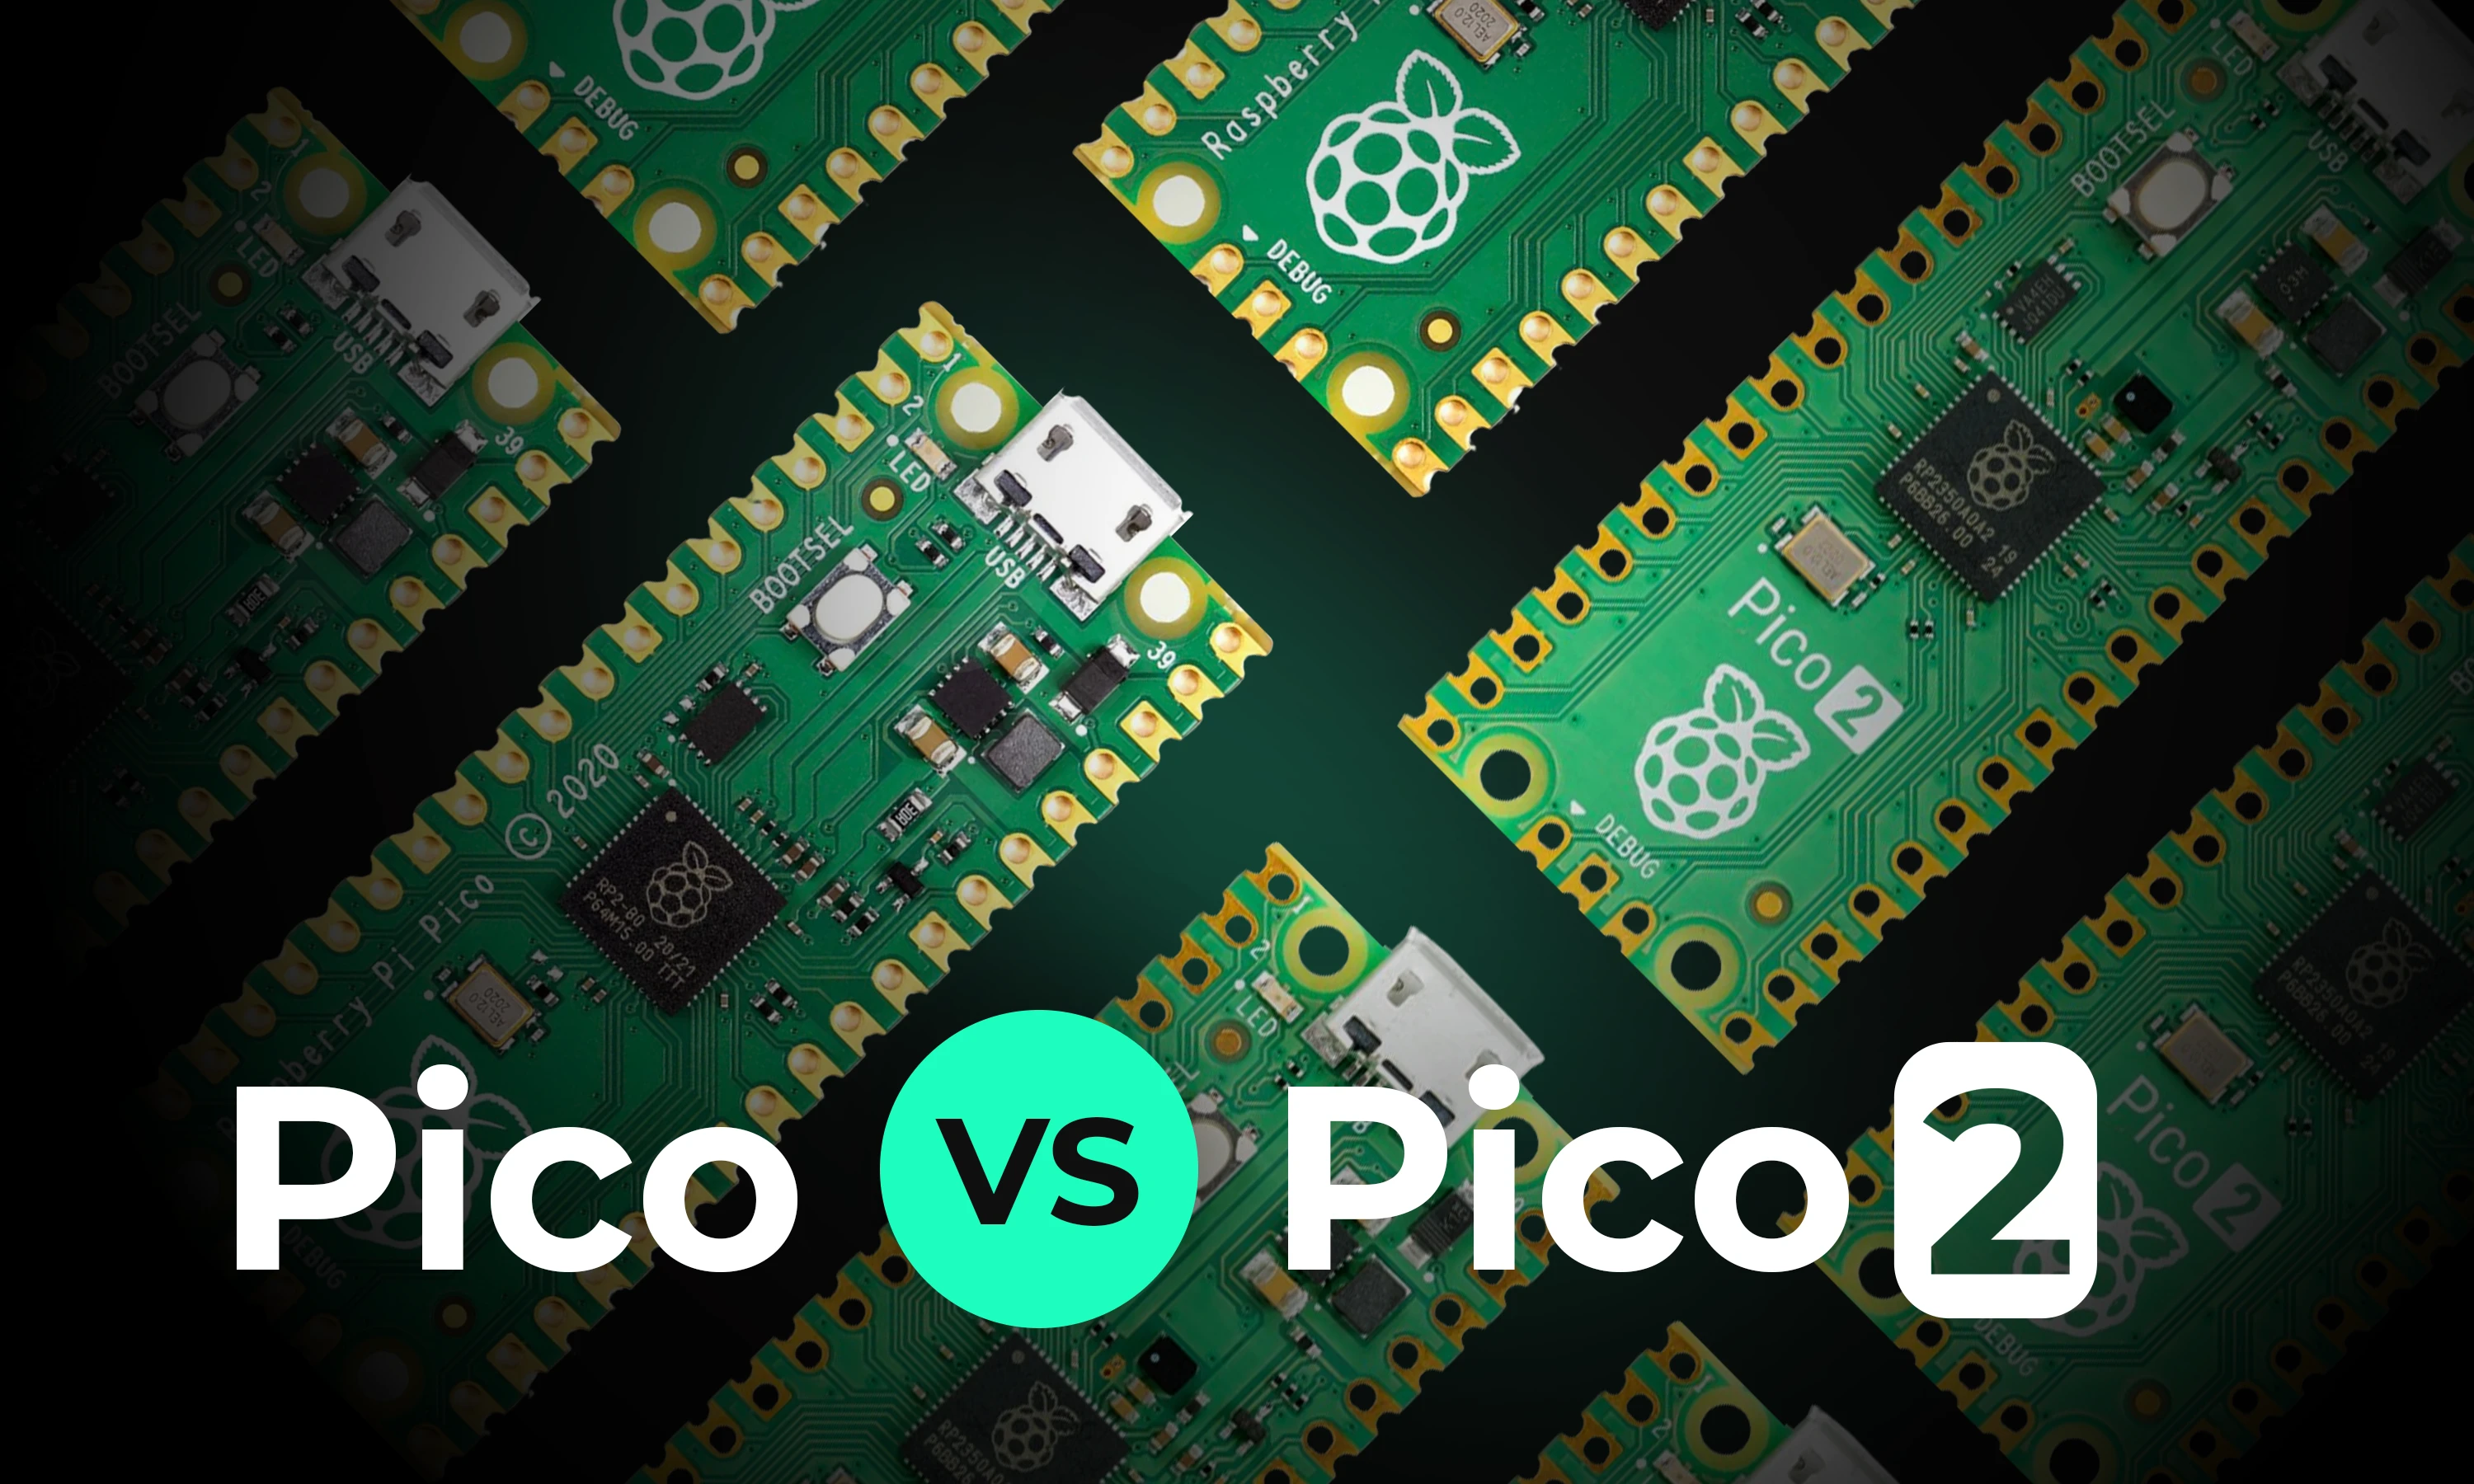
This article will explore the key differences between the original Raspberry Pi Pico and the new Raspberry Pi Pico 2, focusing on the most significant enhancements and what remains unchanged.


Easily calculate resistor values with Flux online Resistor Color Code Calculator. This powerful tool saves time and eliminates errors for electronics enthusiasts and professionals.

Imagine starting a project with over 800,000+ parts at your fingertips, ready to go without any setup. With Flux community-powered part library, you have everything you need to build at scale —all in one place, with real-time supply chain data, intelligent filters, and powerful AI tools.

This article highlights 10 of the most popular microcontrollers, based on their usage in embedded systems, memory architecture, and the community support they enjoy.

Describes Flux.ai's process of enabling 'noUncheckedIndexedAccess' in their TypeScript codebase. This setting enhances type safety by enforcing checks for possible 'undefined' values but introduces numerous type errors in a large codebase. To manage this, Flux.ai used heuristics and automation to suppress new errors with '!' and automate fixes using a provided script.

Streamline component research with Flux Copilot. Copilot links to components for quick part research, offering multiple options tailored to your needs, and find part alternatives effortlessly without switching between tabs and platforms.