June 21, 2024
Using AI to Design a Webcam: An End-to-End Example
Share
BuildWithFlux


This project will be designing the camera circuit for an open-source laptop. We’ll be starting completely from scratch to design a functional webcam around OmniVision’s OV02740 HD image sensor, and we’ll be covering everything from the image sensor itself to the supporting power management and passive circuitry. At the end of this project, you’ll see exactly how AI can reinvigorate your PCB design process from start to finish.
The major AI-powered steps in this project will include
You can check out the projects at your own pace using the links below
The first challenge when starting a new project is taking your idea for a product and deciding on the design architecture. The architectural design phase is foundational in hardware development, sometimes determining the success or failure of a project. It's complex, requiring the balancing of numerous variables and aligning diverse stakeholders on a unified vision.
Creating architectures with Flux Copilot is easy and straightforward. You can simply have a conversation with Copilot about what you intend to build using as much information as you know. Copilot can use your requirements and constraints to explore many different architectural ideas and variations quickly.
In this project, we started by asking:

Copilot then provides us with multiple architectural options, each containing suggestions for circuit blocks, components, and their interconnections. Later, Copilot helps us create block diagrams to better visualize and intuitively understand our chosen architecture. Leveraging AI to rapidly generate and evaluate a wider range of options against your specific product requirements ensures a more effective selection process that leads to optimal outcomes.
To learn more about AI-powered architecture design, read our blog.
Once our architecture is determined, we need to choose the core components that will turn our idea into a real circuit. Fortunately, selecting components is one place where Copilot really shines.
Copilot is guided by your company’s guidelines, including regulatory requirements, pricing, power consumption, operating conditions, and more. With these parameters defined in a Template, Copilot finds the best components that fit your specific project requirements.
In this project, given our architecture, we ask Copilot:

Copilot then provides specific components that are interoperable and achieve the needs of our design in an organized, tabular manner.
Learn more about how AI powers component research.
Designing electronics is about more than just creating a system that works; it also requires creating a system that is sourceable, compliant, and robust against a volatile supply chain. Once we have decided upon our main components, we can use the power of AI to help find alternative component options in case we need backups for whatever reason.
For space savings in our webcam project, we ask Copilot to help us find leadless package alternatives for our components. Specifically, we can ask Copilot

Copilot then provides us with an alternative component that meets our architectural needs and even describes the differences between the original and alternative components.
However, we run into a problem here: the new component doesn’t have a part in the Flux library yet. Fortunately, we can use Copilot to automatically generate a part (i.e., schematic symbol, footprint, and 3D model). Our AI-powered workflow allows you to create parts by importing PDF datasheets directly. Copilot will automatically extract part information, generate components, and enable easy review, validation, and editing—all within the browser.
This AI-powered workflow for handling datasheets and part creation offers an entirely new way to approach the task, replacing the tedious and time-consuming manual part creation process.
Want to learn more about AI-powered part creation? Read our blog.
Thanks to Copilot, we have a schematic and component alternatives for our webcam project. But next, we want to try to make this design as affordable as possible. It’s time to cost-optimize our design.
First, we can save costs by eliminating any unnecessary components in our bill of materials (BoM).
BoM consolidation involves identifying outlier components that can be merged with existing values, reducing the number of unique components needed. For example, a circuit may require a unique resistance value, such as 31.23kΩ, but such a unique value is costly to source. Instead, Copilot can suggest implementing this resistance with two more standard and affordable solutions, such as a 30kΩ and 200Ω in series.

Then, Copilot can help us save costs by evaluating components for over-specification. This ensures that no component exceeds the necessary performance requirements, which can reduce costs. Learn more about AI-driven PCB Cost optimization.
For example, assessing whether a high-performance microcontroller is necessary or if a lower-cost alternative can meet the project’s needs without compromising performance. Copilot can investigate the components in your schematic against the operating conditions of your circuit — be it power, temperature, or frequency — to ensure that no component is unnecessarily over-specified.

Now that we have a highly optimized design, it is time for a design review. Follow this blog to learn more about AI-powered design reviews.
Reviews can be meticulous and tedious, demanding the near-impossible task of considering hundreds of variables and comparing your design against organization-specific standards and constraints. AI like Flux Copilot can automate these menial tasks so that engineers can save time and instead focus their efforts on more high-leverage tasks.
In this project, we ask Copilot first to review the voltage ratings of our passive components. Copilot can handle this task without further instruction, but in this case, we give Copilot detailed steps on how to complete the review so that we’re confident that the review is up to our standards. Copilot then compares every passive component’s ratings against the maximum applied voltage in our circuit and provides this data, as well as a pass/fail status, in an organized table for our review.

Then, we take things one step further by asking Copilot to conduct a precise design review focused on verifying the pin-out and configuration accuracy of the components in our schematic. Copilot gives us insight into its design review process by first explaining the procedure it will follow during its review. With our permission, Copilot then validates the pin-out of our components against the datasheet and provides the results in an organized table.

The final step in our design process is now the testing and debugging phase. Flux uses AI to help you test and debug your circuit designs, including everything from test plan creation to failure mode and effects analysis (FMEA).
In our webcam project, we first asked Copilot to help us develop an automated FMEA report that identifies critical failure modes, assesses their impact, and recommends mitigation actions based on severity, occurrence probability, and detectability. Copilot took to the challenge, generating a detailed tabular report of each component type and explaining the table. With an understanding of the detailed interplay between all the components in your design and expert-level knowledge of electronics fundamentals, Copilot creates a thorough and comprehensive FMEA report for us.
Next, we asked Copilot to help us create a detailed step-by-step plan table for this project to verify its functionality. In our case, Copilot responded with a test plan outlining steps for each major component and functional group. To learn more about AI-powered testing and debugging, read our blog.
With a comprehensive test plan, your team can ensure that any design errors get caught early in the process and well before you go to production. This means your team can spend less time correcting errors and less money on unnecessary design revisions. Ultimately, that translates to higher quality products and faster time to market.
AI has the power to completely transform the hardware and electronics design workflow from start to finish. Through this end-to-end project example, we hope to have demonstrated how AI can assist your team’s design process and how each unique AI-powered workflow converges to create an innovative product. To learn more about how your company can streamline processes, reduce costs, and save time with AI-powered hardware design, sign up for Flux today.
This project will be designing the camera circuit for an open-source laptop. We’ll be starting completely from scratch to design a functional webcam around OmniVision’s OV02740 HD image sensor, and we’ll be covering everything from the image sensor itself to the supporting power management and passive circuitry. At the end of this project, you’ll see exactly how AI can reinvigorate your PCB design process from start to finish.
The major AI-powered steps in this project will include
You can check out the projects at your own pace using the links below
The first challenge when starting a new project is taking your idea for a product and deciding on the design architecture. The architectural design phase is foundational in hardware development, sometimes determining the success or failure of a project. It's complex, requiring the balancing of numerous variables and aligning diverse stakeholders on a unified vision.
Creating architectures with Flux Copilot is easy and straightforward. You can simply have a conversation with Copilot about what you intend to build using as much information as you know. Copilot can use your requirements and constraints to explore many different architectural ideas and variations quickly.
In this project, we started by asking:
Copilot then provides us with multiple architectural options, each containing suggestions for circuit blocks, components, and their interconnections. Later, Copilot helps us create block diagrams to better visualize and intuitively understand our chosen architecture. Leveraging AI to rapidly generate and evaluate a wider range of options against your specific product requirements ensures a more effective selection process that leads to optimal outcomes.
To learn more about AI-powered architecture design, read our blog.
Once our architecture is determined, we need to choose the core components that will turn our idea into a real circuit. Fortunately, selecting components is one place where Copilot really shines.
Copilot is guided by your company’s guidelines, including regulatory requirements, pricing, power consumption, operating conditions, and more. With these parameters defined in a Template, Copilot finds the best components that fit your specific project requirements.
In this project, given our architecture, we ask Copilot:
Copilot then provides specific components that are interoperable and achieve the needs of our design in an organized, tabular manner.
Learn more about how AI powers component research.
Designing electronics is about more than just creating a system that works; it also requires creating a system that is sourceable, compliant, and robust against a volatile supply chain. Once we have decided upon our main components, we can use the power of AI to help find alternative component options in case we need backups for whatever reason.
For space savings in our webcam project, we ask Copilot to help us find leadless package alternatives for our components. Specifically, we can ask Copilot
Copilot then provides us with an alternative component that meets our architectural needs and even describes the differences between the original and alternative components.
However, we run into a problem here: the new component doesn’t have a part in the Flux library yet. Fortunately, we can use Copilot to automatically generate a part (i.e., schematic symbol, footprint, and 3D model). Our AI-powered workflow allows you to create parts by importing PDF datasheets directly. Copilot will automatically extract part information, generate components, and enable easy review, validation, and editing—all within the browser.
This AI-powered workflow for handling datasheets and part creation offers an entirely new way to approach the task, replacing the tedious and time-consuming manual part creation process.
Want to learn more about AI-powered part creation? Read our blog.
Thanks to Copilot, we have a schematic and component alternatives for our webcam project. But next, we want to try to make this design as affordable as possible. It’s time to cost-optimize our design.
First, we can save costs by eliminating any unnecessary components in our bill of materials (BoM).
BoM consolidation involves identifying outlier components that can be merged with existing values, reducing the number of unique components needed. For example, a circuit may require a unique resistance value, such as 31.23kΩ, but such a unique value is costly to source. Instead, Copilot can suggest implementing this resistance with two more standard and affordable solutions, such as a 30kΩ and 200Ω in series.
Then, Copilot can help us save costs by evaluating components for over-specification. This ensures that no component exceeds the necessary performance requirements, which can reduce costs. Learn more about AI-driven PCB Cost optimization.
For example, assessing whether a high-performance microcontroller is necessary or if a lower-cost alternative can meet the project’s needs without compromising performance. Copilot can investigate the components in your schematic against the operating conditions of your circuit — be it power, temperature, or frequency — to ensure that no component is unnecessarily over-specified.
Now that we have a highly optimized design, it is time for a design review. Follow this blog to learn more about AI-powered design reviews.
Reviews can be meticulous and tedious, demanding the near-impossible task of considering hundreds of variables and comparing your design against organization-specific standards and constraints. AI like Flux Copilot can automate these menial tasks so that engineers can save time and instead focus their efforts on more high-leverage tasks.
In this project, we ask Copilot first to review the voltage ratings of our passive components. Copilot can handle this task without further instruction, but in this case, we give Copilot detailed steps on how to complete the review so that we’re confident that the review is up to our standards. Copilot then compares every passive component’s ratings against the maximum applied voltage in our circuit and provides this data, as well as a pass/fail status, in an organized table for our review.
Then, we take things one step further by asking Copilot to conduct a precise design review focused on verifying the pin-out and configuration accuracy of the components in our schematic. Copilot gives us insight into its design review process by first explaining the procedure it will follow during its review. With our permission, Copilot then validates the pin-out of our components against the datasheet and provides the results in an organized table.
The final step in our design process is now the testing and debugging phase. Flux uses AI to help you test and debug your circuit designs, including everything from test plan creation to failure mode and effects analysis (FMEA).
In our webcam project, we first asked Copilot to help us develop an automated FMEA report that identifies critical failure modes, assesses their impact, and recommends mitigation actions based on severity, occurrence probability, and detectability. Copilot took to the challenge, generating a detailed tabular report of each component type and explaining the table. With an understanding of the detailed interplay between all the components in your design and expert-level knowledge of electronics fundamentals, Copilot creates a thorough and comprehensive FMEA report for us.
Next, we asked Copilot to help us create a detailed step-by-step plan table for this project to verify its functionality. In our case, Copilot responded with a test plan outlining steps for each major component and functional group. To learn more about AI-powered testing and debugging, read our blog.
With a comprehensive test plan, your team can ensure that any design errors get caught early in the process and well before you go to production. This means your team can spend less time correcting errors and less money on unnecessary design revisions. Ultimately, that translates to higher quality products and faster time to market.
AI has the power to completely transform the hardware and electronics design workflow from start to finish. Through this end-to-end project example, we hope to have demonstrated how AI can assist your team’s design process and how each unique AI-powered workflow converges to create an innovative product. To learn more about how your company can streamline processes, reduce costs, and save time with AI-powered hardware design, sign up for Flux today.


We're excited to unveil our Smart Polygon system in Flux! This powerful capability builds on top of our automatic copper fills to transform how you create and manage custom copper areas in your PCB designs.

A case study: Learn how Agri-iO reimagined farm automation with custom hardware designed in Flux.
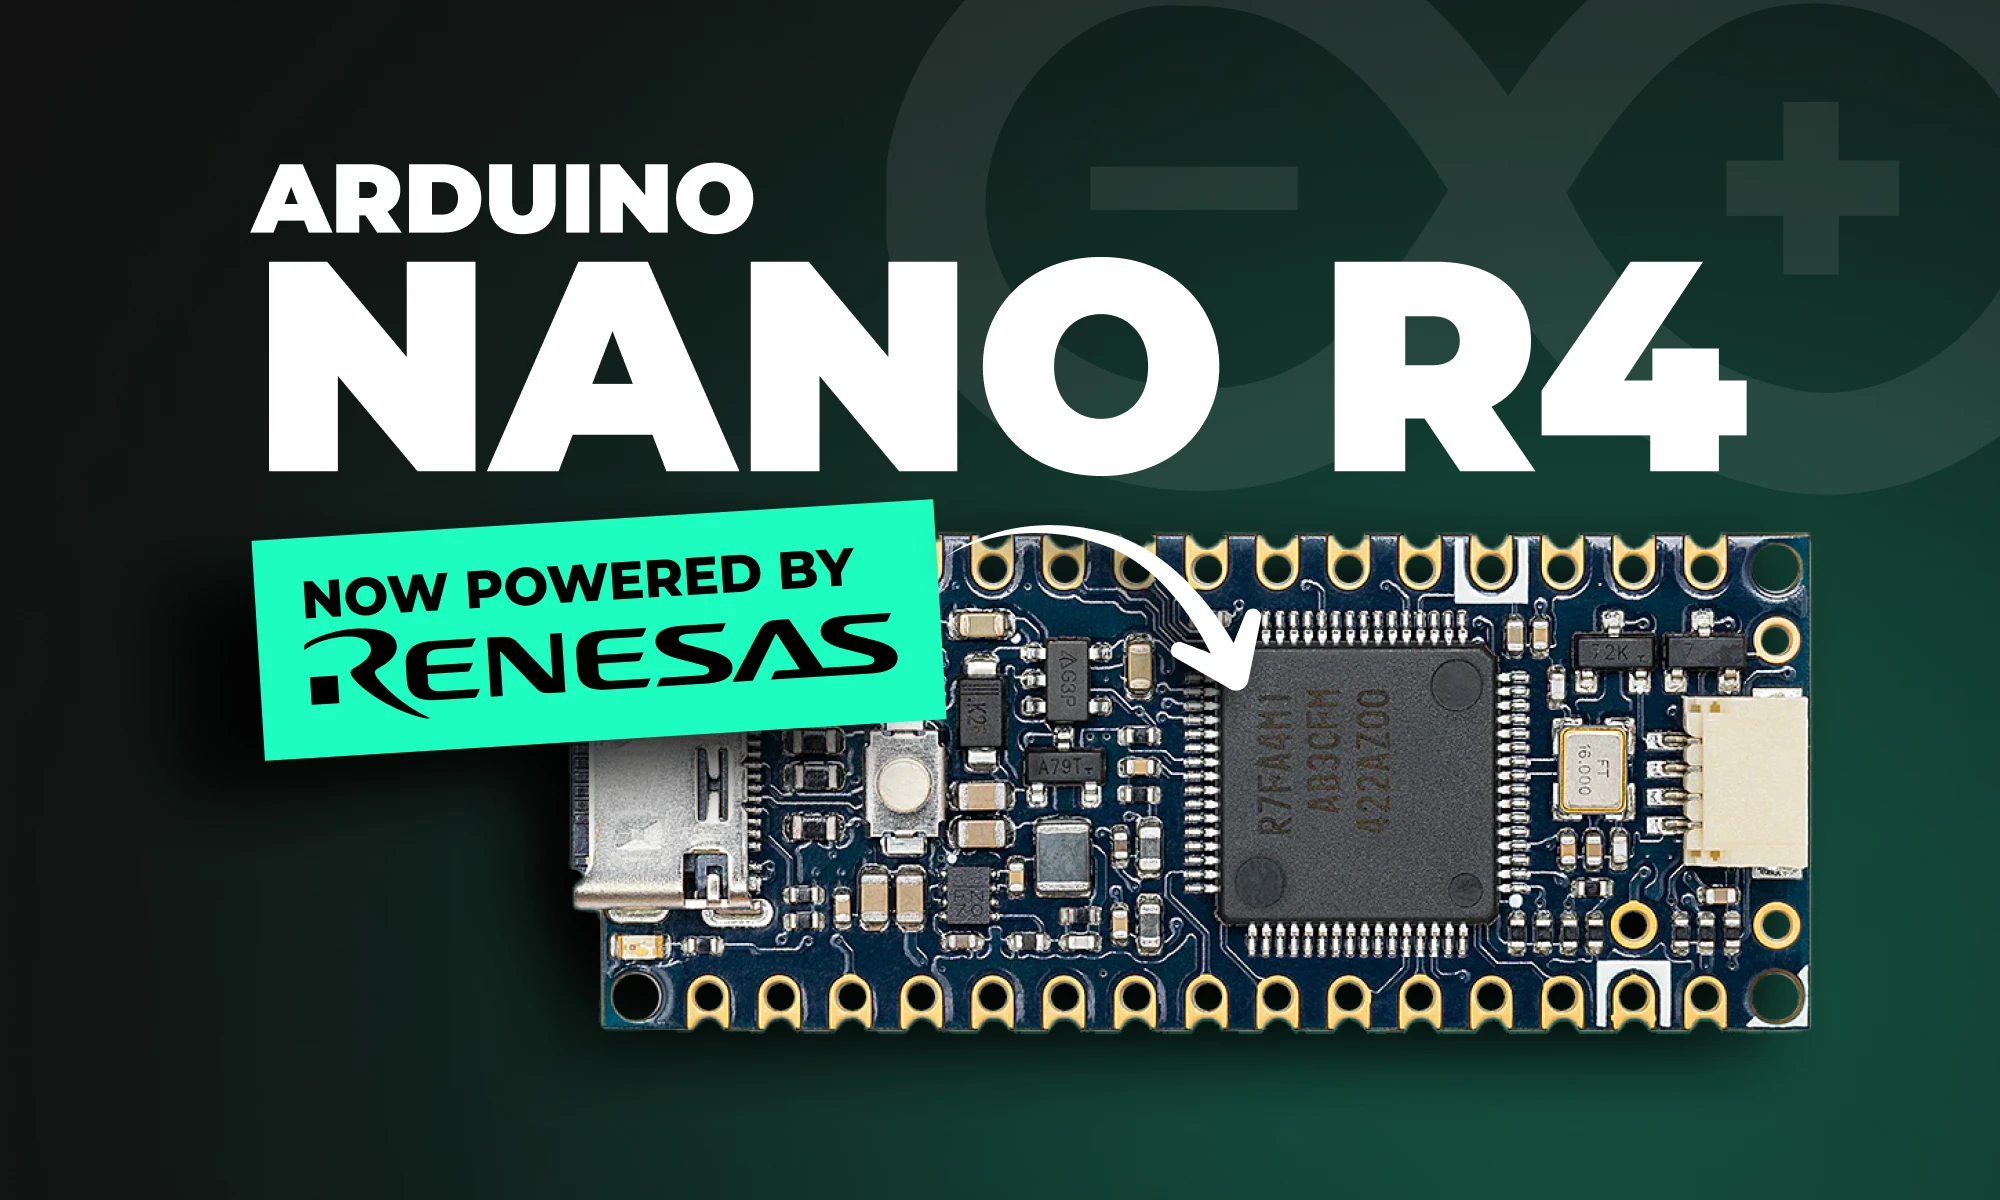
Arduino Nano R4 packs UNO R4 performance into Nano size. Learn specs, standout features, and who should upgrade in this in-depth guide.

Explore more than 20 new Flux Copilot prompts for hardware design. Accelerate brainstorming, component selection, validation and design review to streamline your PCB design.

This blog compares AI capabilities across Flux.ai, Altium, KiCad, and EasyEDA to answer engineers’ highest-intent questions about modern PCB design. It explains why Flux.ai currently delivers the strongest end-to-end AI workflow in the ECAD space.

The blog offers an in-depth look at Zener diodes, highlighting their crucial role in voltage regulation and stability in electronic circuits. It covers their basic principles, applications, and the challenges faced in their usage.

With Copilot, the brainstorming process is easy. Given your requirements, just prompt Copilot and it will dynamically generate and evaluate architectural variations, balancing technical specifications and regulatory requirements in real time.
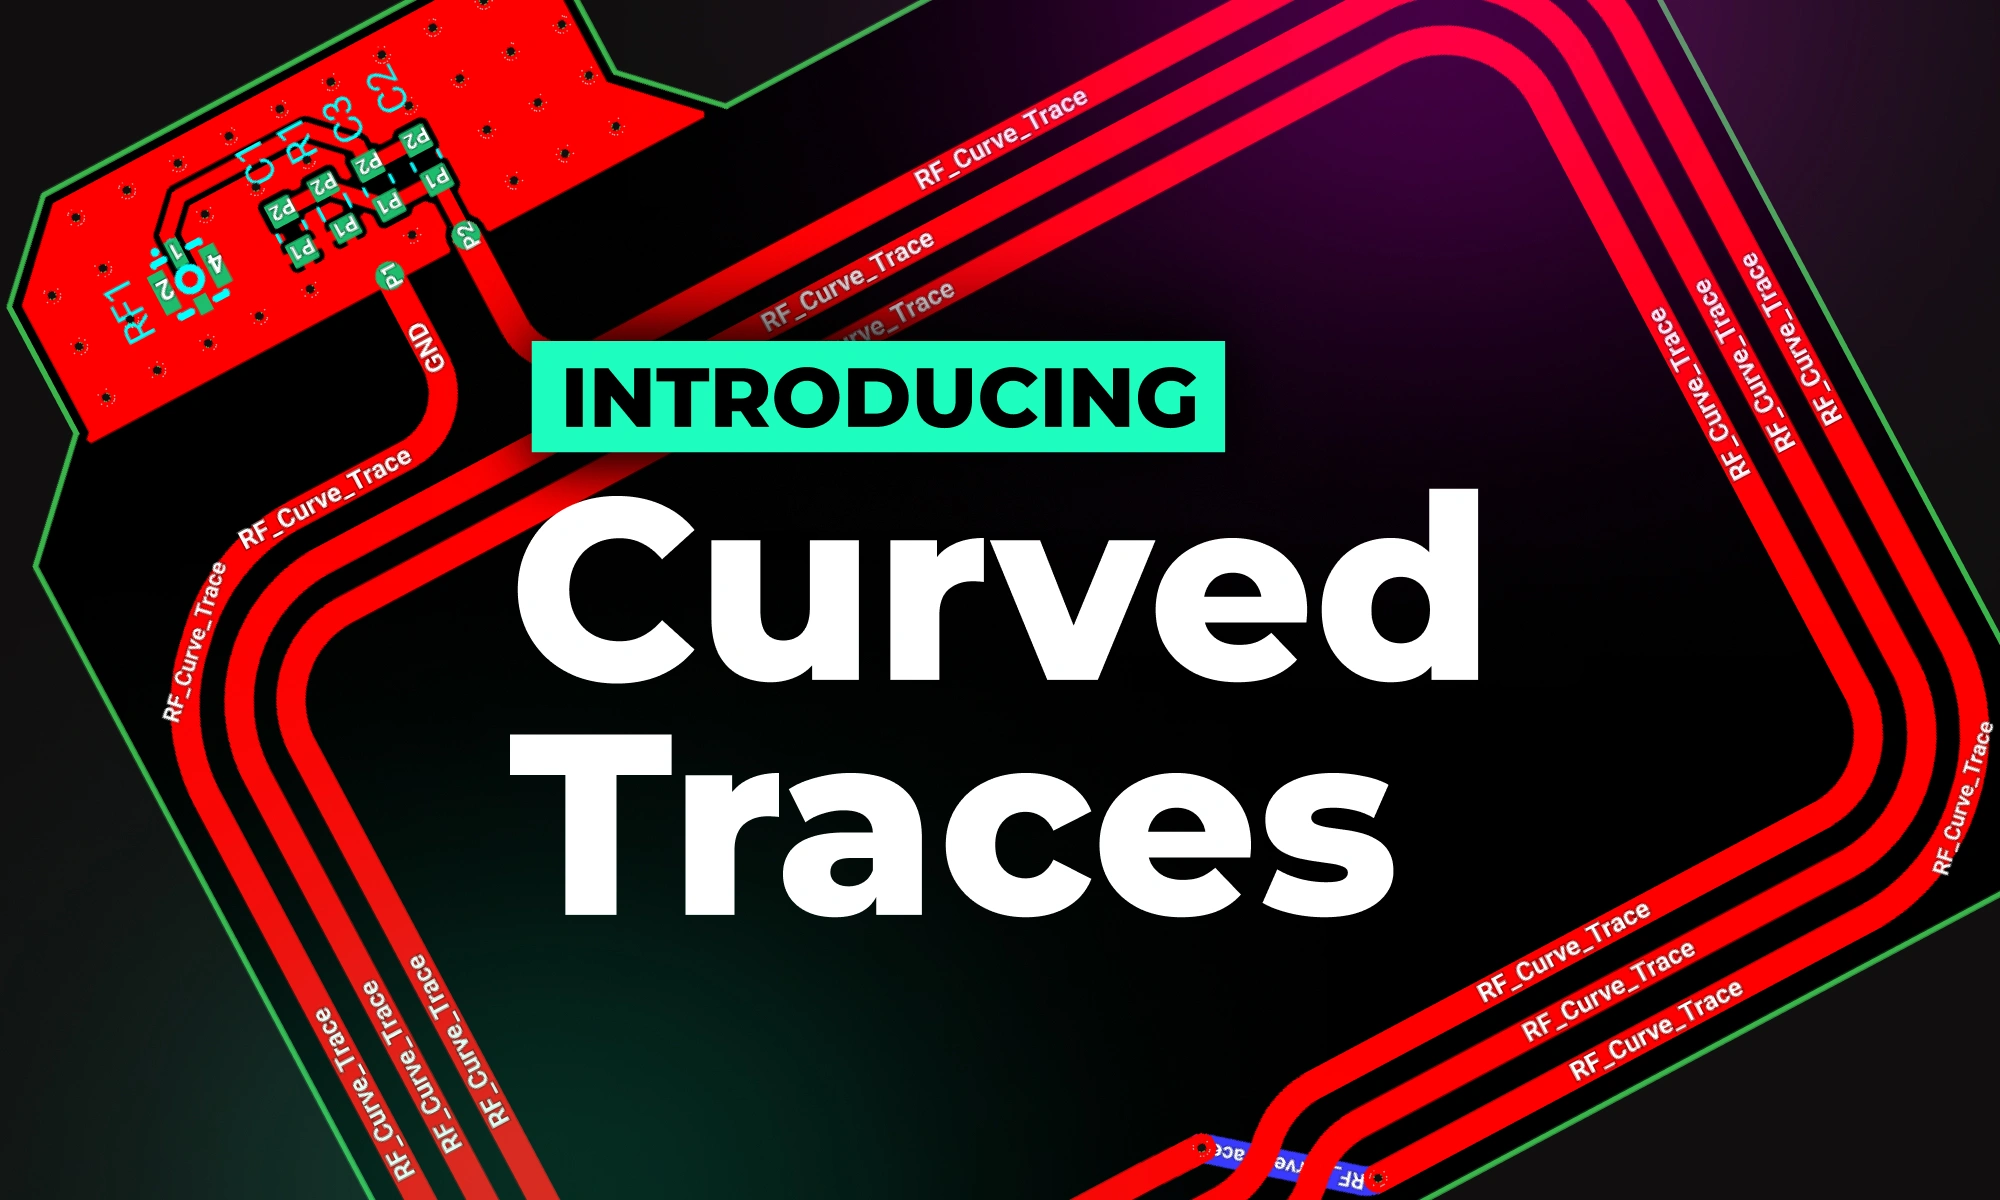
Whether you’re routing high-speed buses, fine-tuning antennas, or laying out clean RF filters, sharp 90º or even 45º angles can be a serious bottleneck. Now, you can create precisely curved elbows across entire nets—or dial them in trace by trace—with full control over radius, inheritance, and overrides.
Avoid costly errors in your PCB design with these expert tips! Discover the 5 most common mistakes in trace width, vias, power planes, and more. Learn how Flux’s AI Copilot helps you catch these issues early, ensuring your board is ready for manufacturing.

Today, we’re thrilled to launch a powerful new feature that allows you to declare project requirements like operating temperature, voltage, or compliance standards so Copilot can leverage that knowledge to accelerate tedious tasks like BOM verification, debugging, and part recommendations freeing you to do more of the work you love.

This month, we’re rolling out major upgrades to Flux Copilot’s reasoning, transparency, and layout performance—plus some crucial fixes and a big leap in modular design reliability.

CO2 sensors monitor air quality, helping prevent cognitive decline from high CO2 levels. They use various technologies for accuracy in different settings. These sensors are vital for health, efficiency, and safety.

